Lately, I’ve been experimenting with using Docker for all of my software development.
Yes. All of it.
In the past, I’ve only really used docker in a professional setting. Using it to capture and share somewhat esoteric code dependencies ensures a developer doesn’t become derailed on an errant system update. It also helps new hires get into the code base faster since they don’t have to download and install a million different dependencies of a specific version. It also helps companies support (or stage upgrades on) different workstation builds since hosting the code in a docker container decouples it from the host operating system.
But this all seems like flagrant overkill for fun, non-professional coding.
You only have one workstation you care about. Plus, it’s not like you have to onboard anyone else into a personal code base. So why would you ever care about using Docker for personal code development?
I’ve found that even with my personal code development, I often want to have experimental spaces where I can download different libraries just to play around with them. I don’t really want to have them installed on my system because:
- they can be hard to remove (especially if it was some beta that didn’t quite have its uninstall hooks done correctly)
- they may conflict with some other library I have on my system and
- I’d have to continually keep it up to date and synced with compatible library versions.
I realized that I had to refer back to my previous notes on how to set up the environment when I decided to make a new website for ProjectRobotPlayground. And of course, this time some dependent library in GitHub pages was not compatible with the new version of Ubuntu I was running. This sent me into a rabbit hole that wasted my precious free time wrestling with dependencies.
And then it hit me.
I don’t have to keep doing this. I can just make a Docker image and use that! And with VS Code, I can do all of my development for that one project within that one container as well!
So I’ve decided to share this little hack with you.
VS Code
For those of you who are unaware. VS Code is an open-source editor that was developed by Microsoft. It is deliciously compatible with nearly any operating system and has a large base of extensions you can download and install.
For me, it has been far more stable and less complicated to set up than sublime. Also, VS Code has IntelliSense (which is just awesome), and it has built-in debugging.
Note: I am not affiliated. I’m just a fan, and I’m rarely a fan of this kind of thing.
Docker
Docker is one of the biggest container platforms around. Containers let you wrap up software with its dependencies into a standardized unit that can be run anywhere. It’s great because it lets you keep everything that is needed to get your software up and running in one place.
This makes it so you can pause a personal project for as long as you need to (hey! life happens) and you can jump right back in where you left off.
Exactly where you left off.
You don’t need to mess around with dependencies, worry if you accidentally uninstalled something, or deal with versioning conflicts. Plus, if you ever want to share your work, you can share not only your code but also all of your dependencies easily.
How to set up VS Code with Docker
One of the main reasons I really love VS Code is its ability to be used in a “remote” configuration. I can be editing files that don’t live on my computer (like those in a client like Docker).
I first started using this for work, since I could ssh into my machine and then bring up my familiar VS Code editor to work remotely. I found this much more productive than ssh-ing into my machine and using Vim. Yes, I know there are people out there who only code in Vim. I prefer a more fully-featured IDE. But for those die-hards out there, VS Code has Vim key bindings, so you can switch without having to re-memorize your key combos.
Later, I started playing around with docker-based development as I was playing with new ROS2 versions. Then, I started using docker and VS Code for everything.
The following instructions assume you are somewhat familiar with VS Code and docker. If you’re not, I encourage you to follow the links to learn more!
1. Install VS Code and Docker
Download and install VS Code from the website to install the editor.
Then, follow the instructions on dockerhub to install docker CE (community edition).
Finally, you’ll want to install the VS Code plugin that allows you to attach to a docker container. Instructions here
2. Set up your workspace
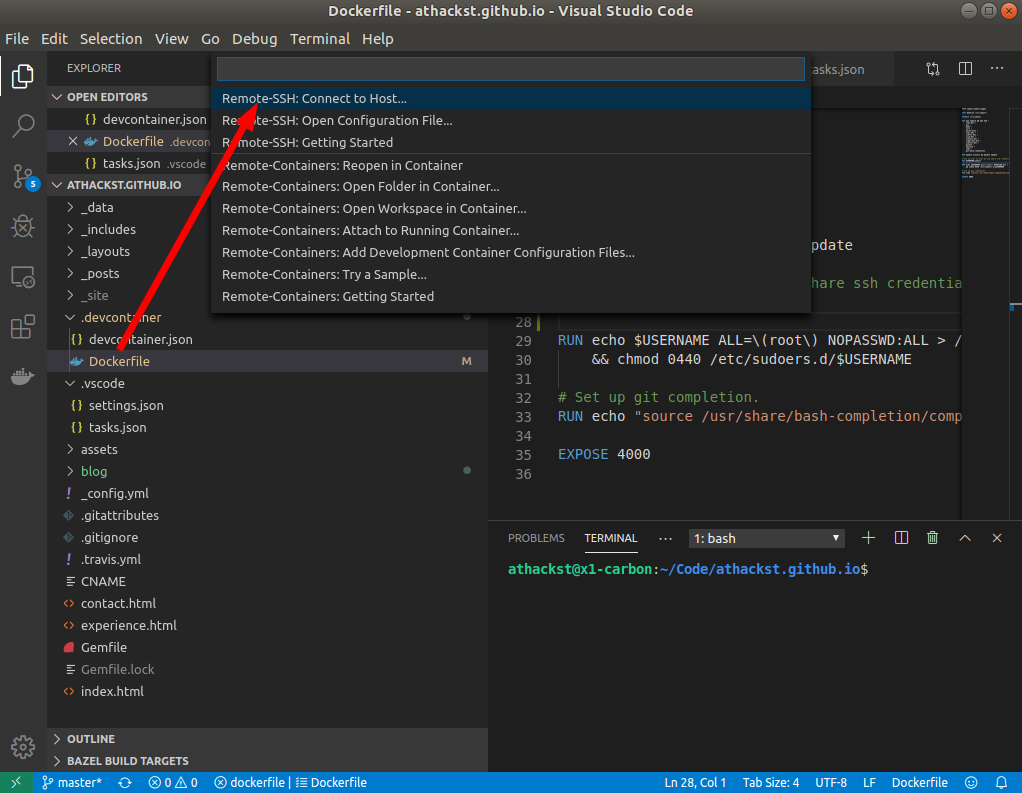
Open VS Code and clock on the green square in the bottom right corner.
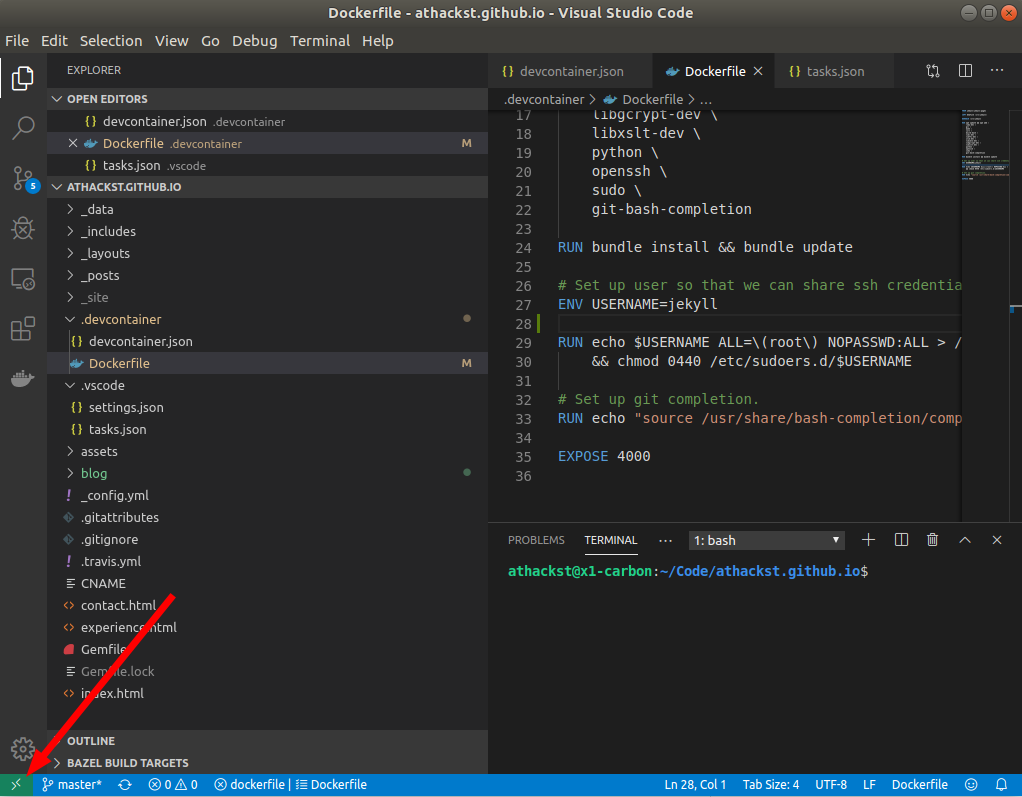
This will bring up a menu that will let you choose which docker container to use. There are many default containers, feel free to pick one!
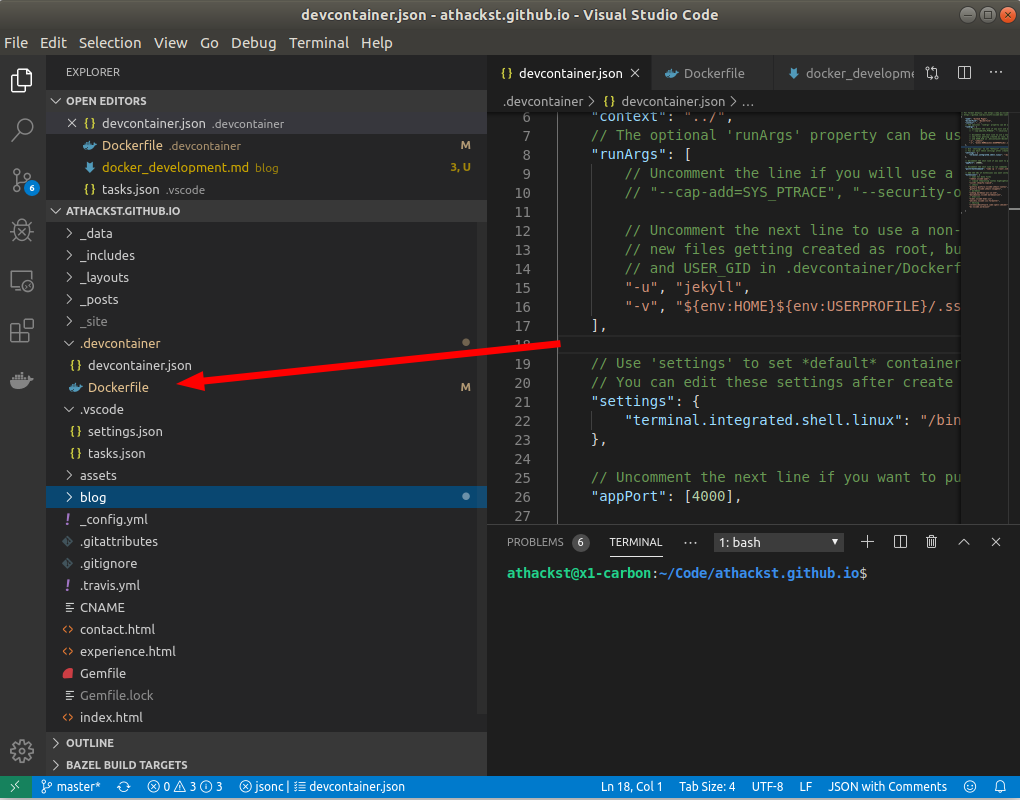
This will make a .devcontainer folder inside your workspace. If you look at
it, you will see a devcontainer.json file, which tells VS Code how to launch
your container and a Dockerfile that defines your container.
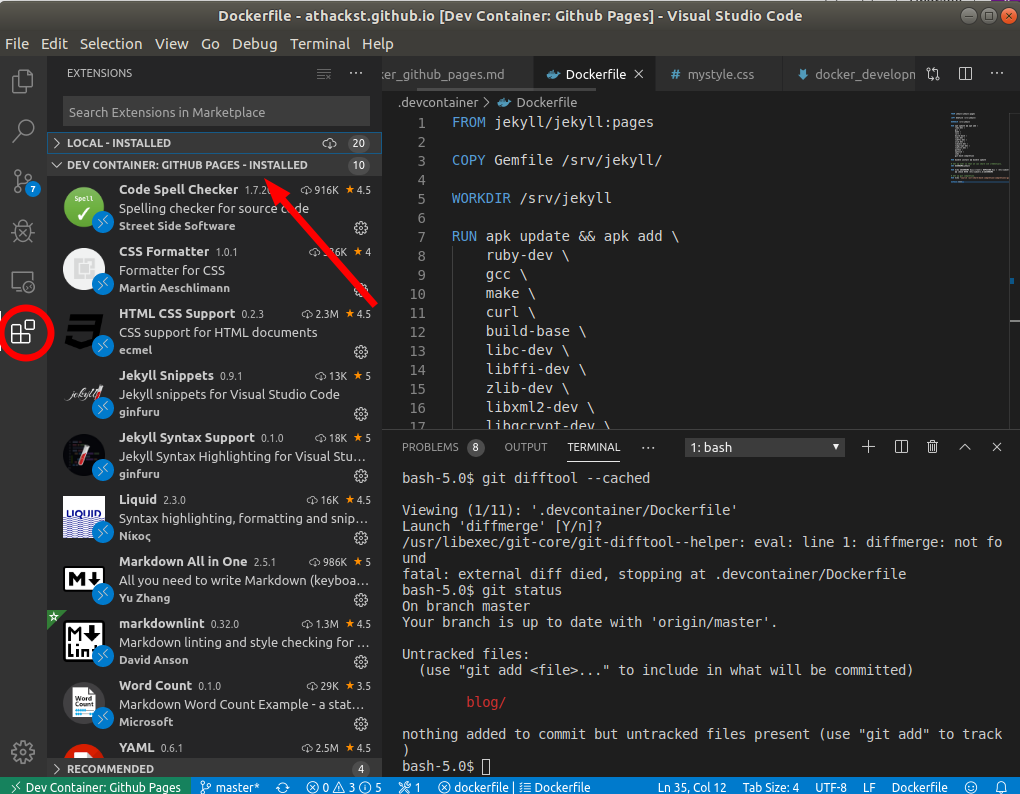
3. Download and configure extensions inside the container
You can even set up vscode plugins inside your container so they will automatically load when you start the container.
Hello, linting tools!
4. Some Gotchas
It’s a good idea to start the docker container with your user id and group (instead of root). UPDATE: This is now done by default when opening the container This is because any edits you make in VS Code are made inside the container and will inherit the owner of the container’s user. This means your containers will have to have a non-root user built into them with the same user id and group that you have.
It’s also convenient to share your git credentials with the container. If you use a credential manager, this will be automatically done for you! If you use ssh, you will need to mount your credentials inside the container.
Finally, you’ll want to set up your favorite bash tools, including completion.
Related posts

Setting Up a Local Docker Registry
After you’ve been developing your code using docker there will inevitably come a time when you’d like to share your workspace (code and all!) with someone else or put it on another computer.

Supercharging VSCode with Tasks
In my previous articles, I showed you how I set up github pages and ros2 with vscode.
VSCode, Docker, and ROS2
I started out playing with ROS2 by using a docker container. It was a fast and easy way for me to try out ROS2. As an avid user of ROS, I naturally wanted to keep up with the new changes being made. However, it can be difficult to set up, especially for new users. This guide is intended to be used by people that are familiar with coding and software development, but maybe not ROS.